자바지기님의 유튜브 영상과 자료를 참고하여 실습을 진행한다.
기본으로 제공되는 프로젝트가 있으며 요구사항에 맞춰 코드를 발전시킨다.
요구사항마다 힌트가 있으나 우선 스스로 구현 방법을 생각해본다.
https://www.youtube.com/watch?v=qgFVj916nX8&list=PLqaSEyuwXkSqV88SwDxuY56xmj6KsmzRN&index=1
https://www.slideshare.net/javajigi/http-web-server
HTTP web server 구현
자바 기반으로 web server를 직접 구현하면서 HTTP 동작 원리에 대해 이해한다.
www.slideshare.net
개발 환경 설정
지난 번의 간단한 자바 통신 구현에서 봤던 내용들이다.
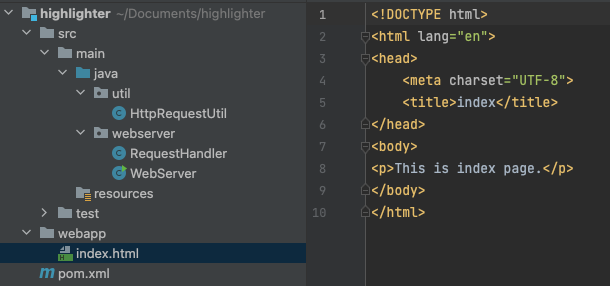
프로젝트(위 슬라이드에 깃허브 주소 있음)를 다운로드 해보니 연결을 담당하는 WebServer 클래스와 데이터를 주고 받는 RequestHandler 클래스이다.
로컬 환경에서 실행해보자.
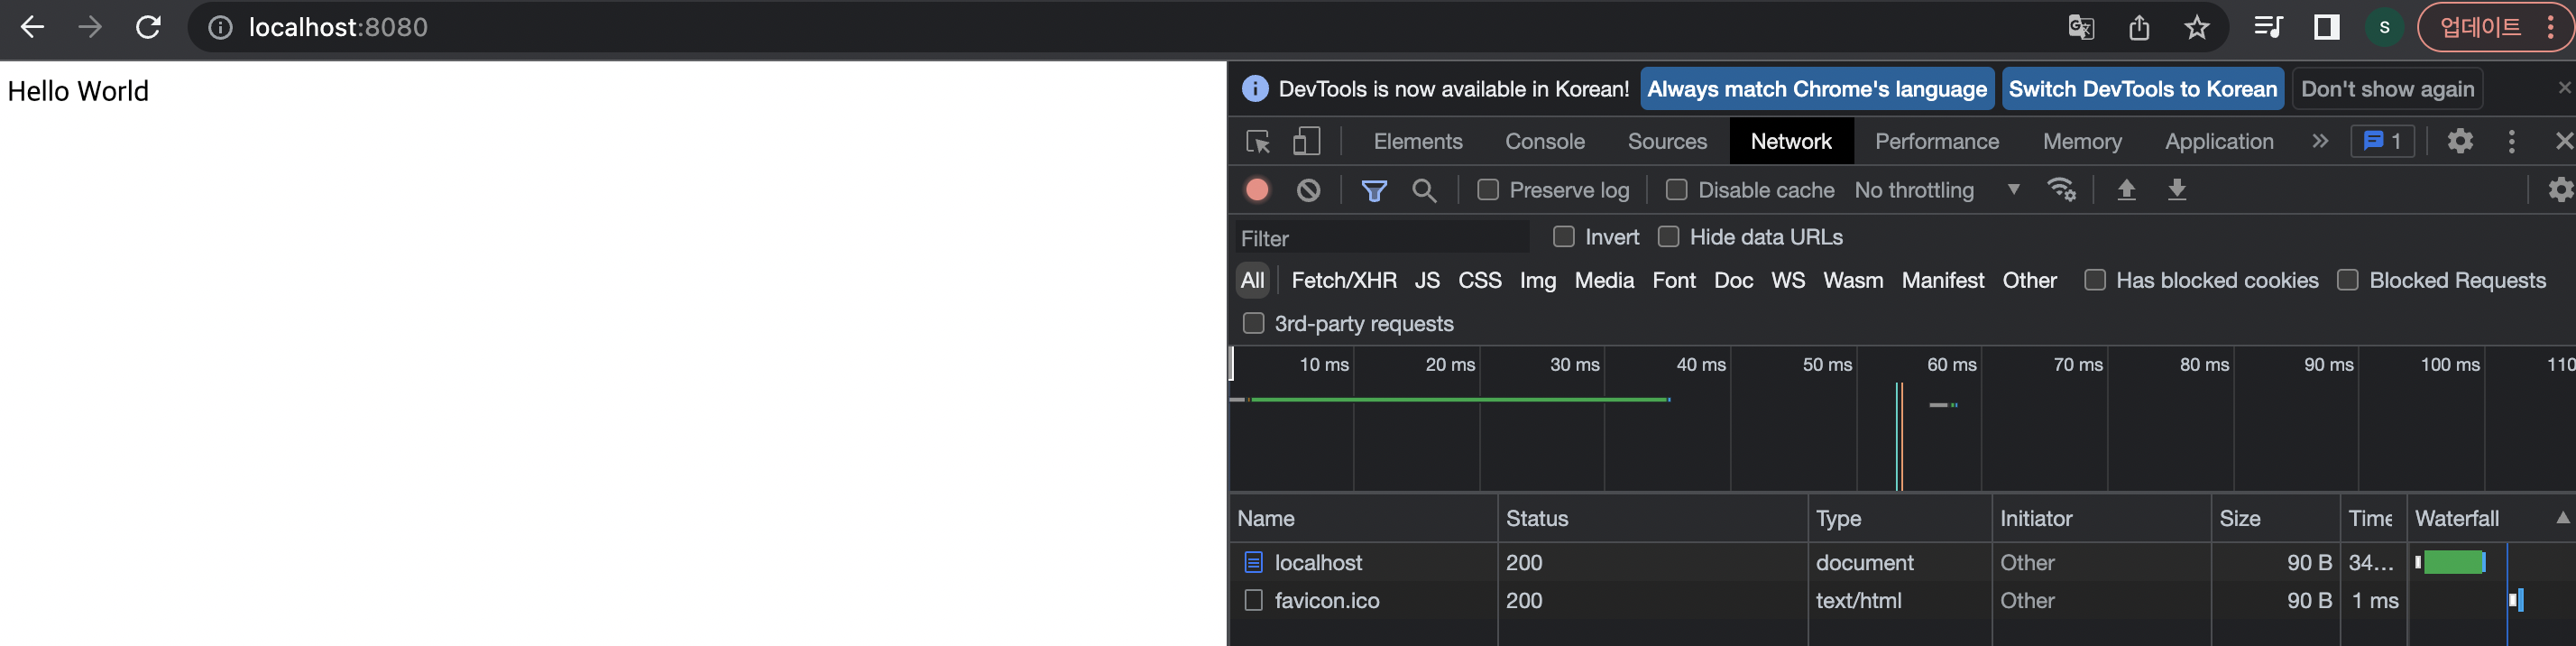

http://localhost:8080 뒤에 뭔가를 붙이면 어떻게 될까?
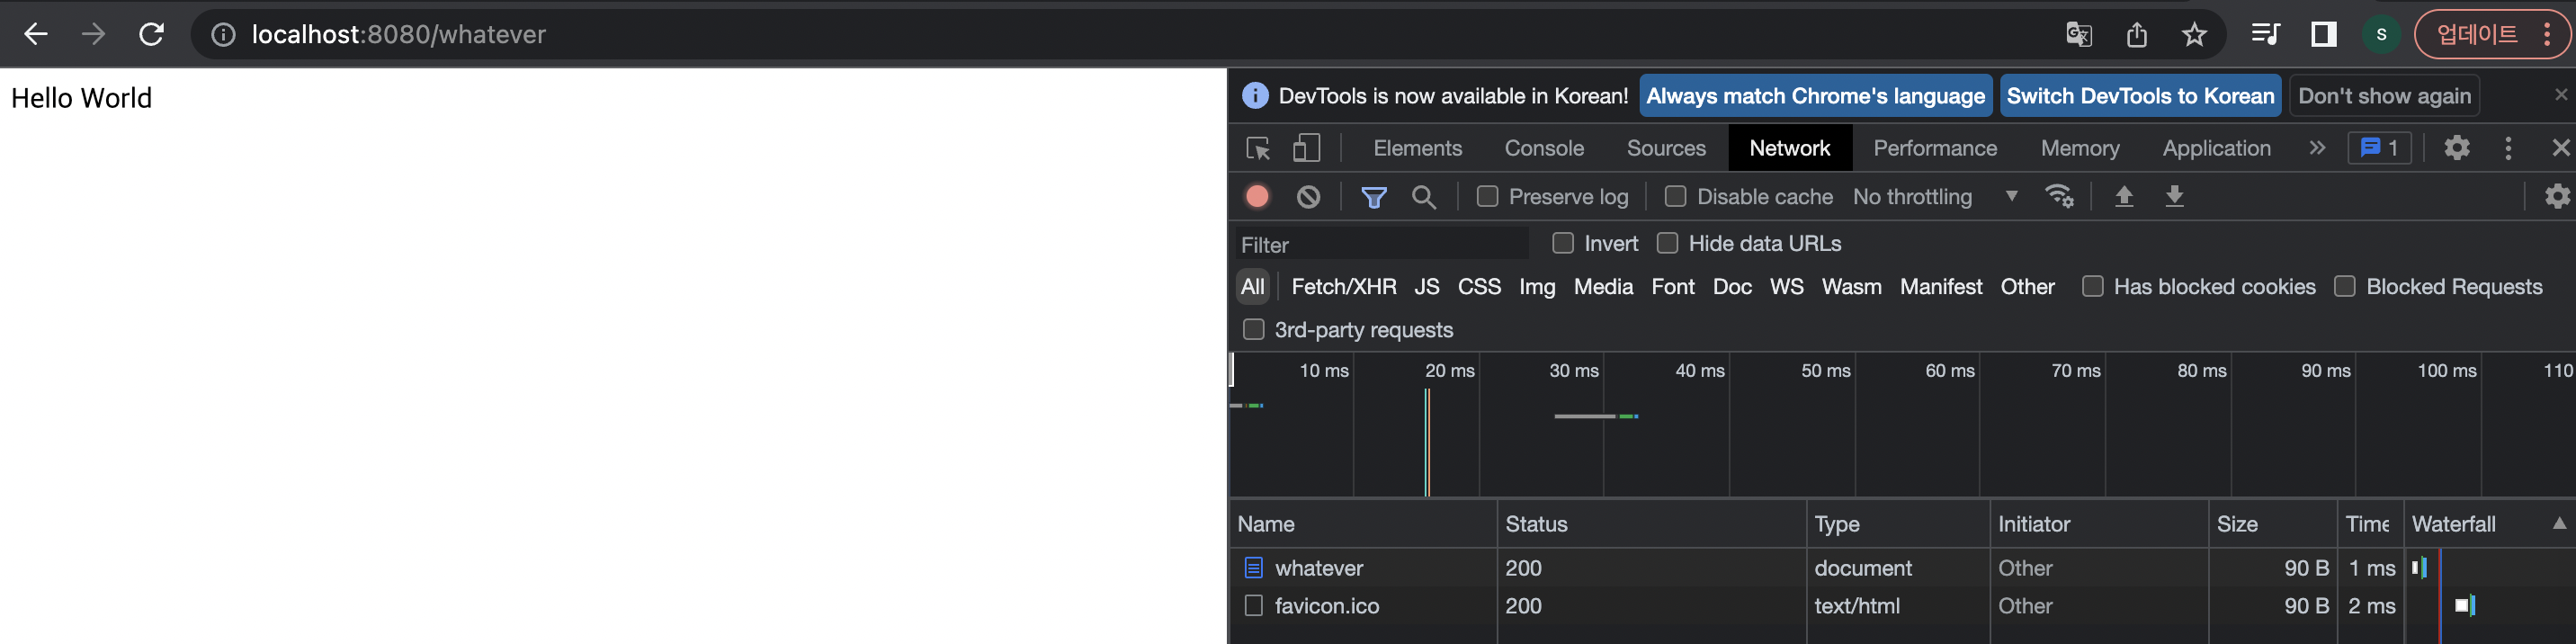

기본으로 제공되는 프로젝트에서는 어떠한 데이터가 들어와도 "Hello World"를 출력하게 되어있기 때문이다.
// public class RequestHandler 의
// run() 메소드 중 일부

DataOutputStream dos = new DataOutputStream(out);
byte[] body = "Hello World".getBytes();
response200Header(dos, body.length);
responseBody(dos, body);
dos.close();
요구사항 1
http://localhost:8080/index.html로 접속했을 때 webapp 디렉토리의 index.html 파일을 읽어 클라이언트에 응답하라
구현 방법 생각
- 데이터를 주고 받는 RequestHandler에서 코드를 추가해야 할 것이다
- InputStream으로 /index.html에 관련된 데이터가 들어올 것이다
- 파일의 경로를 찾는다
- 해당 파일 데이터를 전송한다 파일 관련 OutputStream 클래스로 보내줘야 할 것이다
InputStream으로 /index.html에 관련된 데이터가 들어올 것이다
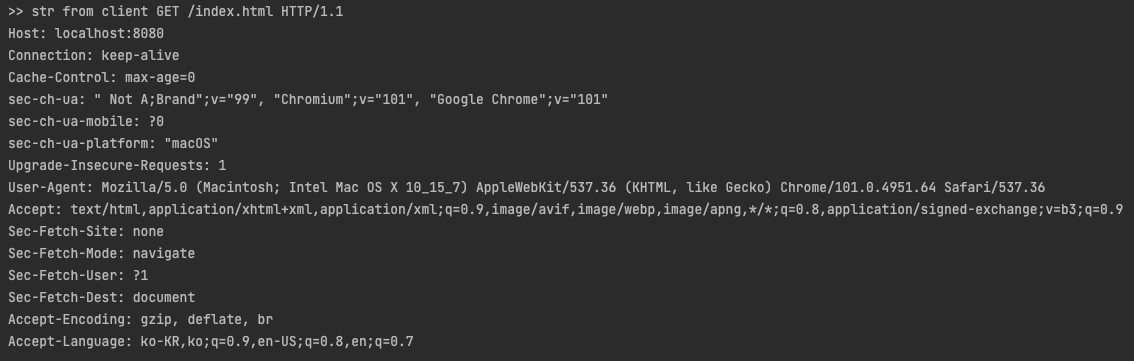
InputStream에 뭐가 들어있나 확인해보자.
    @Override
    public void run() {
        logger.info("new client connected! IP: {}, Port: {}", connection.getInetAddress(), connection.getPort());

        try (InputStream in = connection.getInputStream(); OutputStream out = connection.getOutputStream()) {

            // start
            byte[] bytes = new byte[1000];
            int count = in.read(bytes);
            String str = new String(bytes, 0, count, "utf-8");
            System.out.println(">> str from client " + str);
            // end

            DataOutputStream dos = new DataOutputStream(out);
            byte[] body = "Hello World".getBytes();
            response200Header(dos, body.length);
            responseBody(dos, body);
            dos.close();
        } catch (IOException ex) {
            logger.error(ex.getMessage());
        }
하지만 바이트 배열을 만들어 InputStream으로 데이터를 읽어오고 String을 생성하는 지금의 방식은 비효율적이다.
무엇보다 파싱이 번거로울 것 같다. 다행히 이와 관련한 힌트가 있다.
힌트
1. 문자 단위 입력 스트림인 BufferedReader를 사용하여 줄 별로 http 메세지를 읽는다.
2. 유틸 클래스를 만들고 단위 테스트를 만들어 진행하면 편하다
InputStreamReader와 BuffreredReader를 사용하여 출력해보자.
//            byte[] bytes = new byte[1000];
//            int count = in.read(bytes);
//            String str = new String(bytes, 0, count, "utf-8");
//            System.out.println(">> str from client " + str);

            InputStreamReader ir = new InputStreamReader(in);
            BufferedReader br = new BufferedReader(new InputStreamReader(in, "UTF-8"));

            String str = br.readLine();
            String startLine = str;

            while((str = br.readLine()) != null && !"".equals(str)) {
                System.out.println(str);
            }

            System.out.println("*** start line: " + startLine);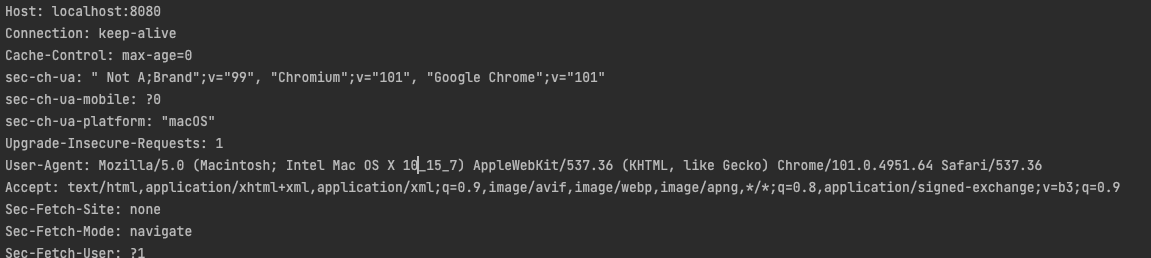

파일의 경로를 찾는다
파일의 경로를 찾기 위해서 http 메시지 시작줄의 http 메서드(GET) / URL 등의 요청 타겟(/index.html) / http 버전(HTTP/1.1)에서 두번째를 정보를 가져와야 한다.
파일의 경로를 찾는 기능을 유틸 클래스로 분리해주었다.
public class HttpRequestUtil {
    private static final Logger logger = LoggerFactory.getLogger(HttpRequestUtil.class);

    public static String getUrl(String startLine) {
        // todo length != 3일 때 예외처리
        String[] elements = startLine.split(" ");
        String url = elements[1];
        logger.debug("url: {}", url);
        return url;
    }
}
추후 Servlet의 Url 매핑 기능으로 확장을 해도 될 것이다.
해당 파일 데이터를 전송한다 파일 관련 OutputStream 클래스로 보내줘야 할 것이다
파일을 바이트로 읽는 Files.readAllBytes()을 사용하여 바이트 배열로 넘겨준다.
public class RequestHandler implements Runnable{
    private static final Logger logger = LoggerFactory.getLogger(RequestHandler.class);

    private Socket connection;

    public RequestHandler(Socket connection) {
        this.connection = connection;
    }

    @Override
    public void run() {
        logger.info("new client connected! IP: {}, Port: {}", connection.getInetAddress(), connection.getPort());

        try (InputStream in = connection.getInputStream(); OutputStream out = connection.getOutputStream()) {
            BufferedReader br = new BufferedReader(new InputStreamReader(in, "UTF-8"));
            String startLine = br.readLine();
            if(startLine == null) {
                return;
            }
            String url = HttpRequestUtil.getUrl(startLine);
            DataOutputStream dos = new DataOutputStream(out);
            byte[] body = Files.readAllBytes(new File("./webapp" + url).toPath());
            response200Header(dos, body.length);
            responseBody(dos, body);
            dos.close();
        } catch (IOException ex) {
            logger.error(ex.getMessage());
        }
    }

    private void response200Header(DataOutputStream dos, int lengthOfBodyContent) {
        try {
            dos.writeBytes("HTTP/1.1 200 OK \r\n");
            dos.writeBytes("Content-Type: text/html;charset=utf-8\r\n");
            dos.writeBytes("Content-Length: " + lengthOfBodyContent + "\r\n");
            dos.writeBytes("\r\n");
        } catch (IOException e) {
            logger.error(e.getMessage());
        }
    }

    private void responseBody(DataOutputStream dos, byte[] body) {
        try {
            dos.write(body, 0, body.length);
            dos.flush();
        } catch (IOException e) {
            logger.error(e.getMessage());
        }
    }
}
로컬 환경에서 프로그램 실행 후 브라우저 주소창에 localhost:8080/index.html을 입력해보자.

'Study > Java' 카테고리의 다른 글
| [Java] 제네릭 (0) | 2023.02.01 |
|---|---|
| JVM 명세 - Run-Time Data Areas (0) | 2022.06.25 |
| 간단한 자바 TCP 통신 구현 (0) | 2022.06.02 |
| 자바 빌더 패턴 Java Builder Pattern (0) | 2022.05.31 |
| [JAVA] 메인메소드 public static void main(String[] args)에 대해 (0) | 2018.09.16 |